
Chubby ducky
So you've gone out and purchased yourself a nice, chubby duck from your local pastured duck farmer. Don't roast it! (or do and get a far from rare duck) That fatty duck is far more fun and delicious broken down into bits. There's also a lower chance of what I call "duck sadness," that moment when you realize your delicious duck is dry, tough and fatty at the same time (a.k.a. disaster). In today's blog post I'll give you three recipes for the different parts of the duck as well as links to other recipes I've enjoyed.
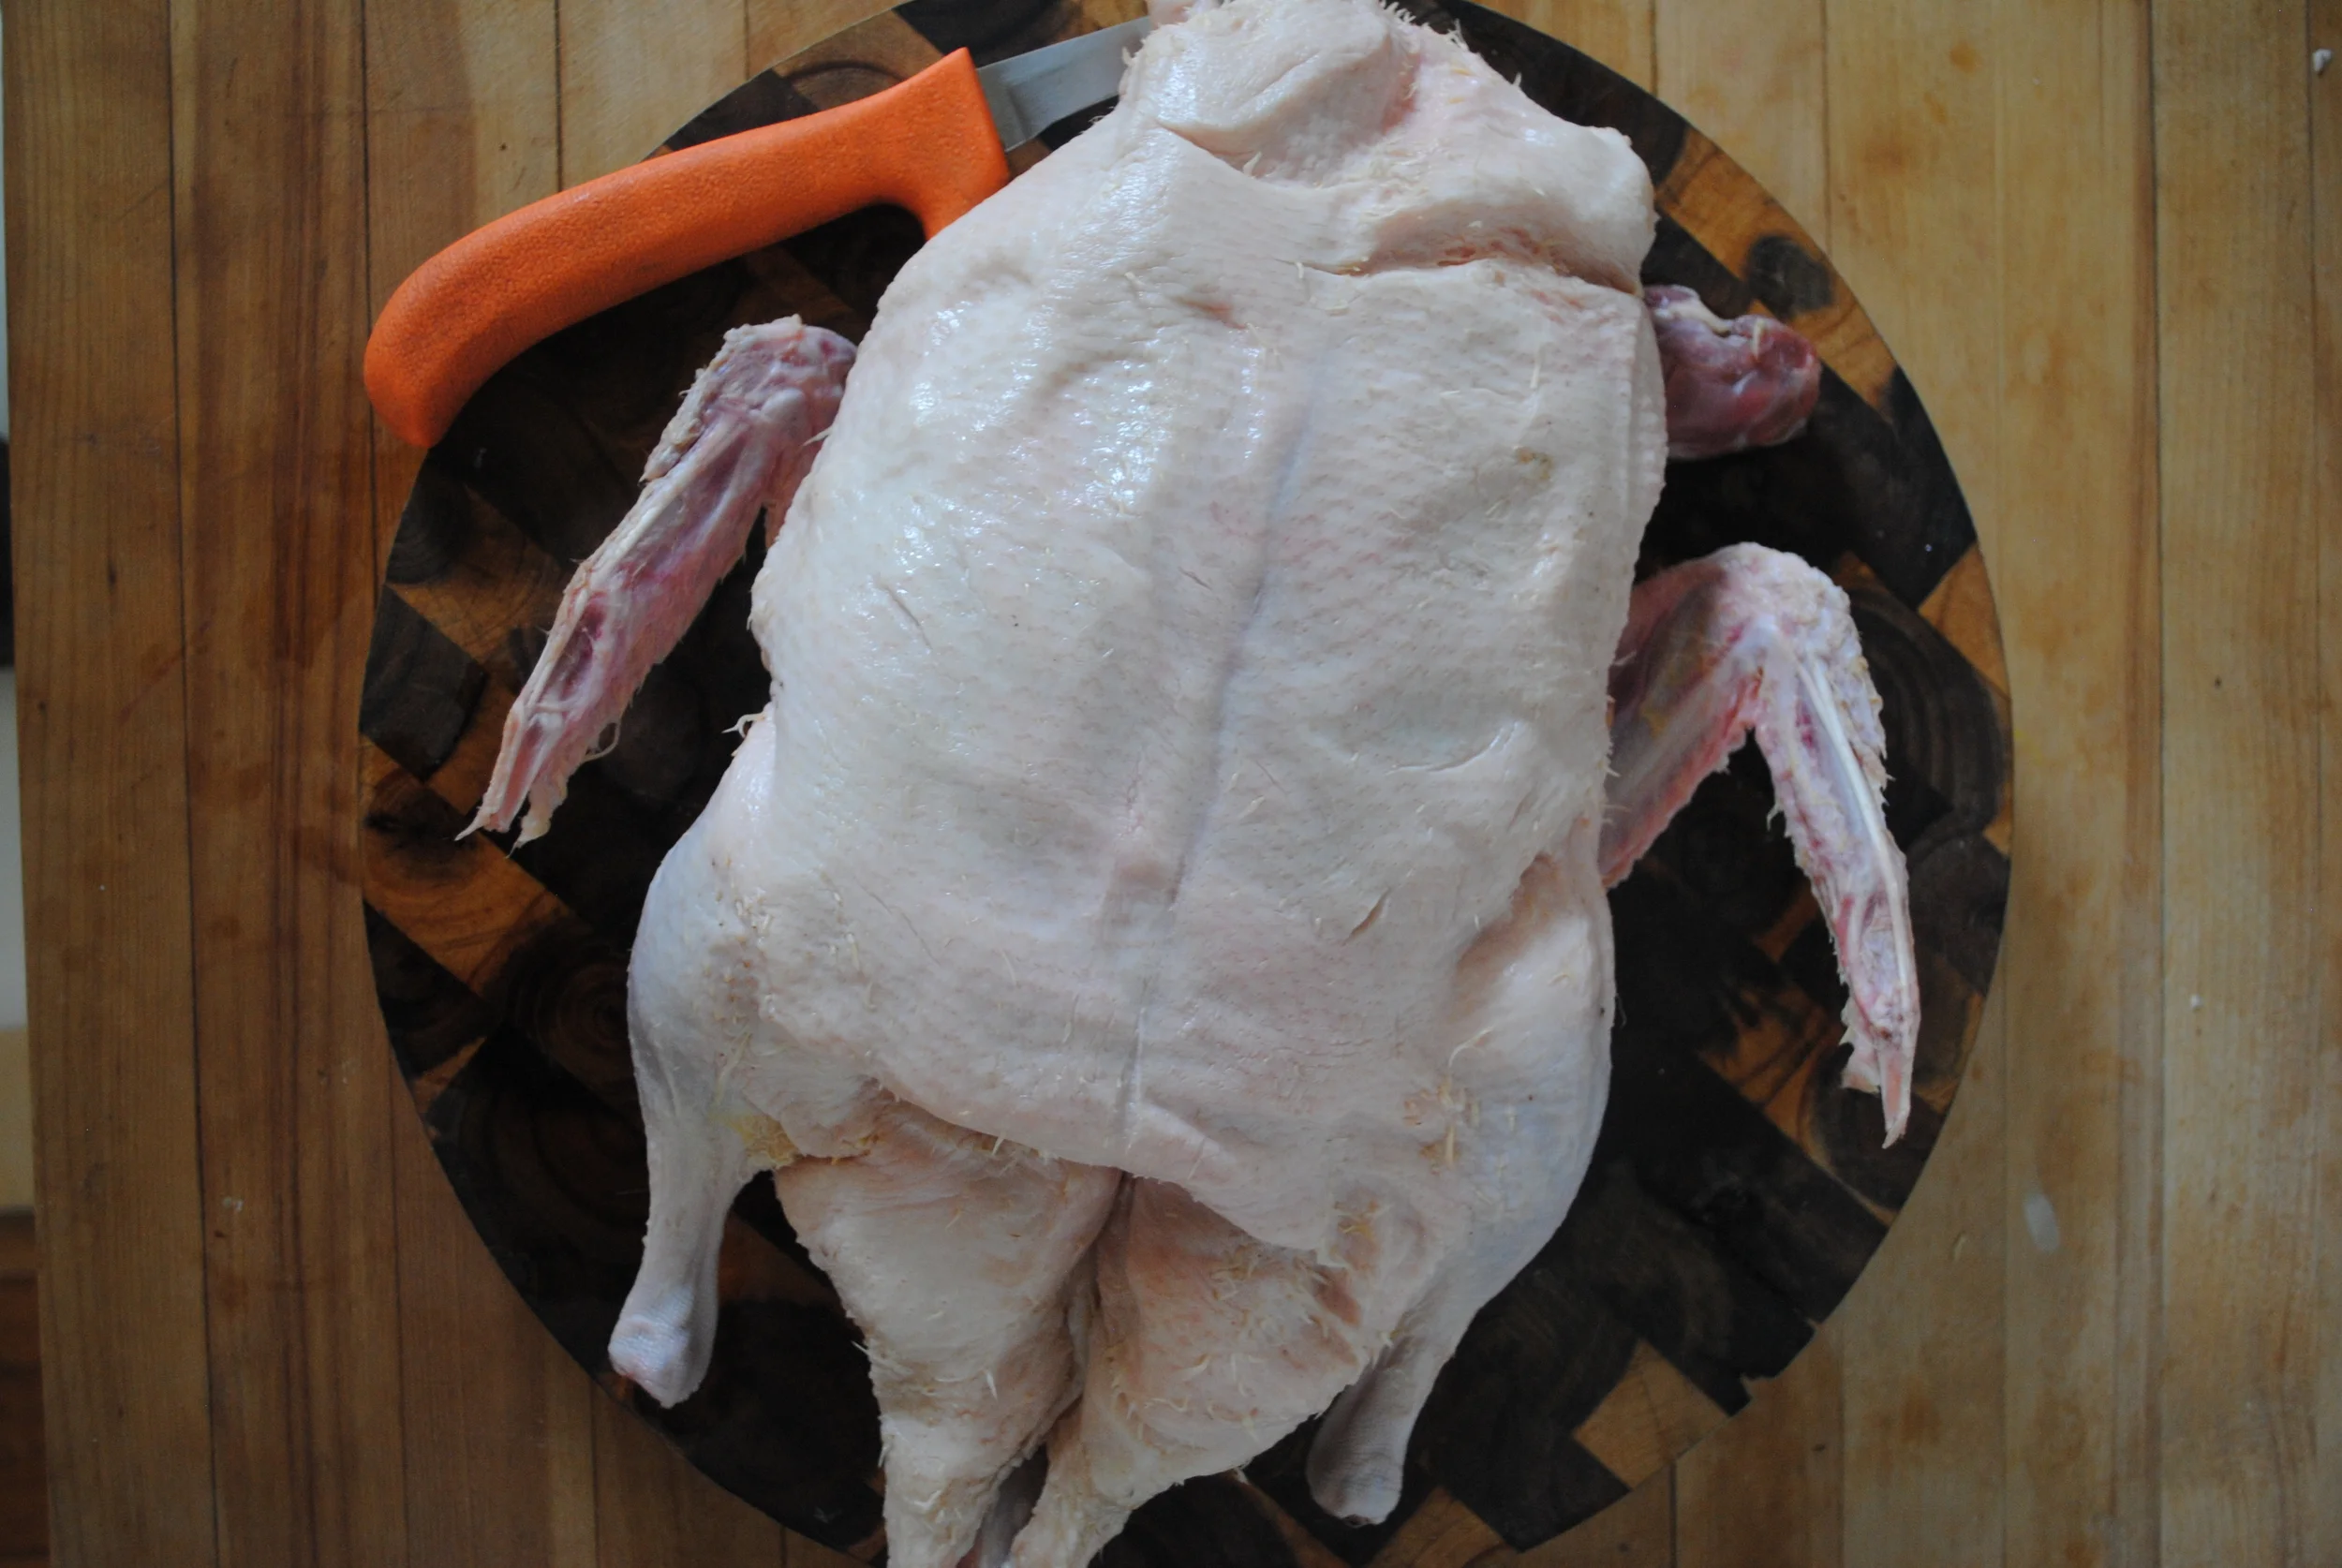
So, first get yourself a cutting board, sharp knife and a duck. If your duck is currently frozen, put it in the fridge for 4 days to thaw out or overnight in the fridge submerged under water. Next, follow this video's instructions for a fully broken down duck. You should end up with these parts:
Duck Breasts and tenders:
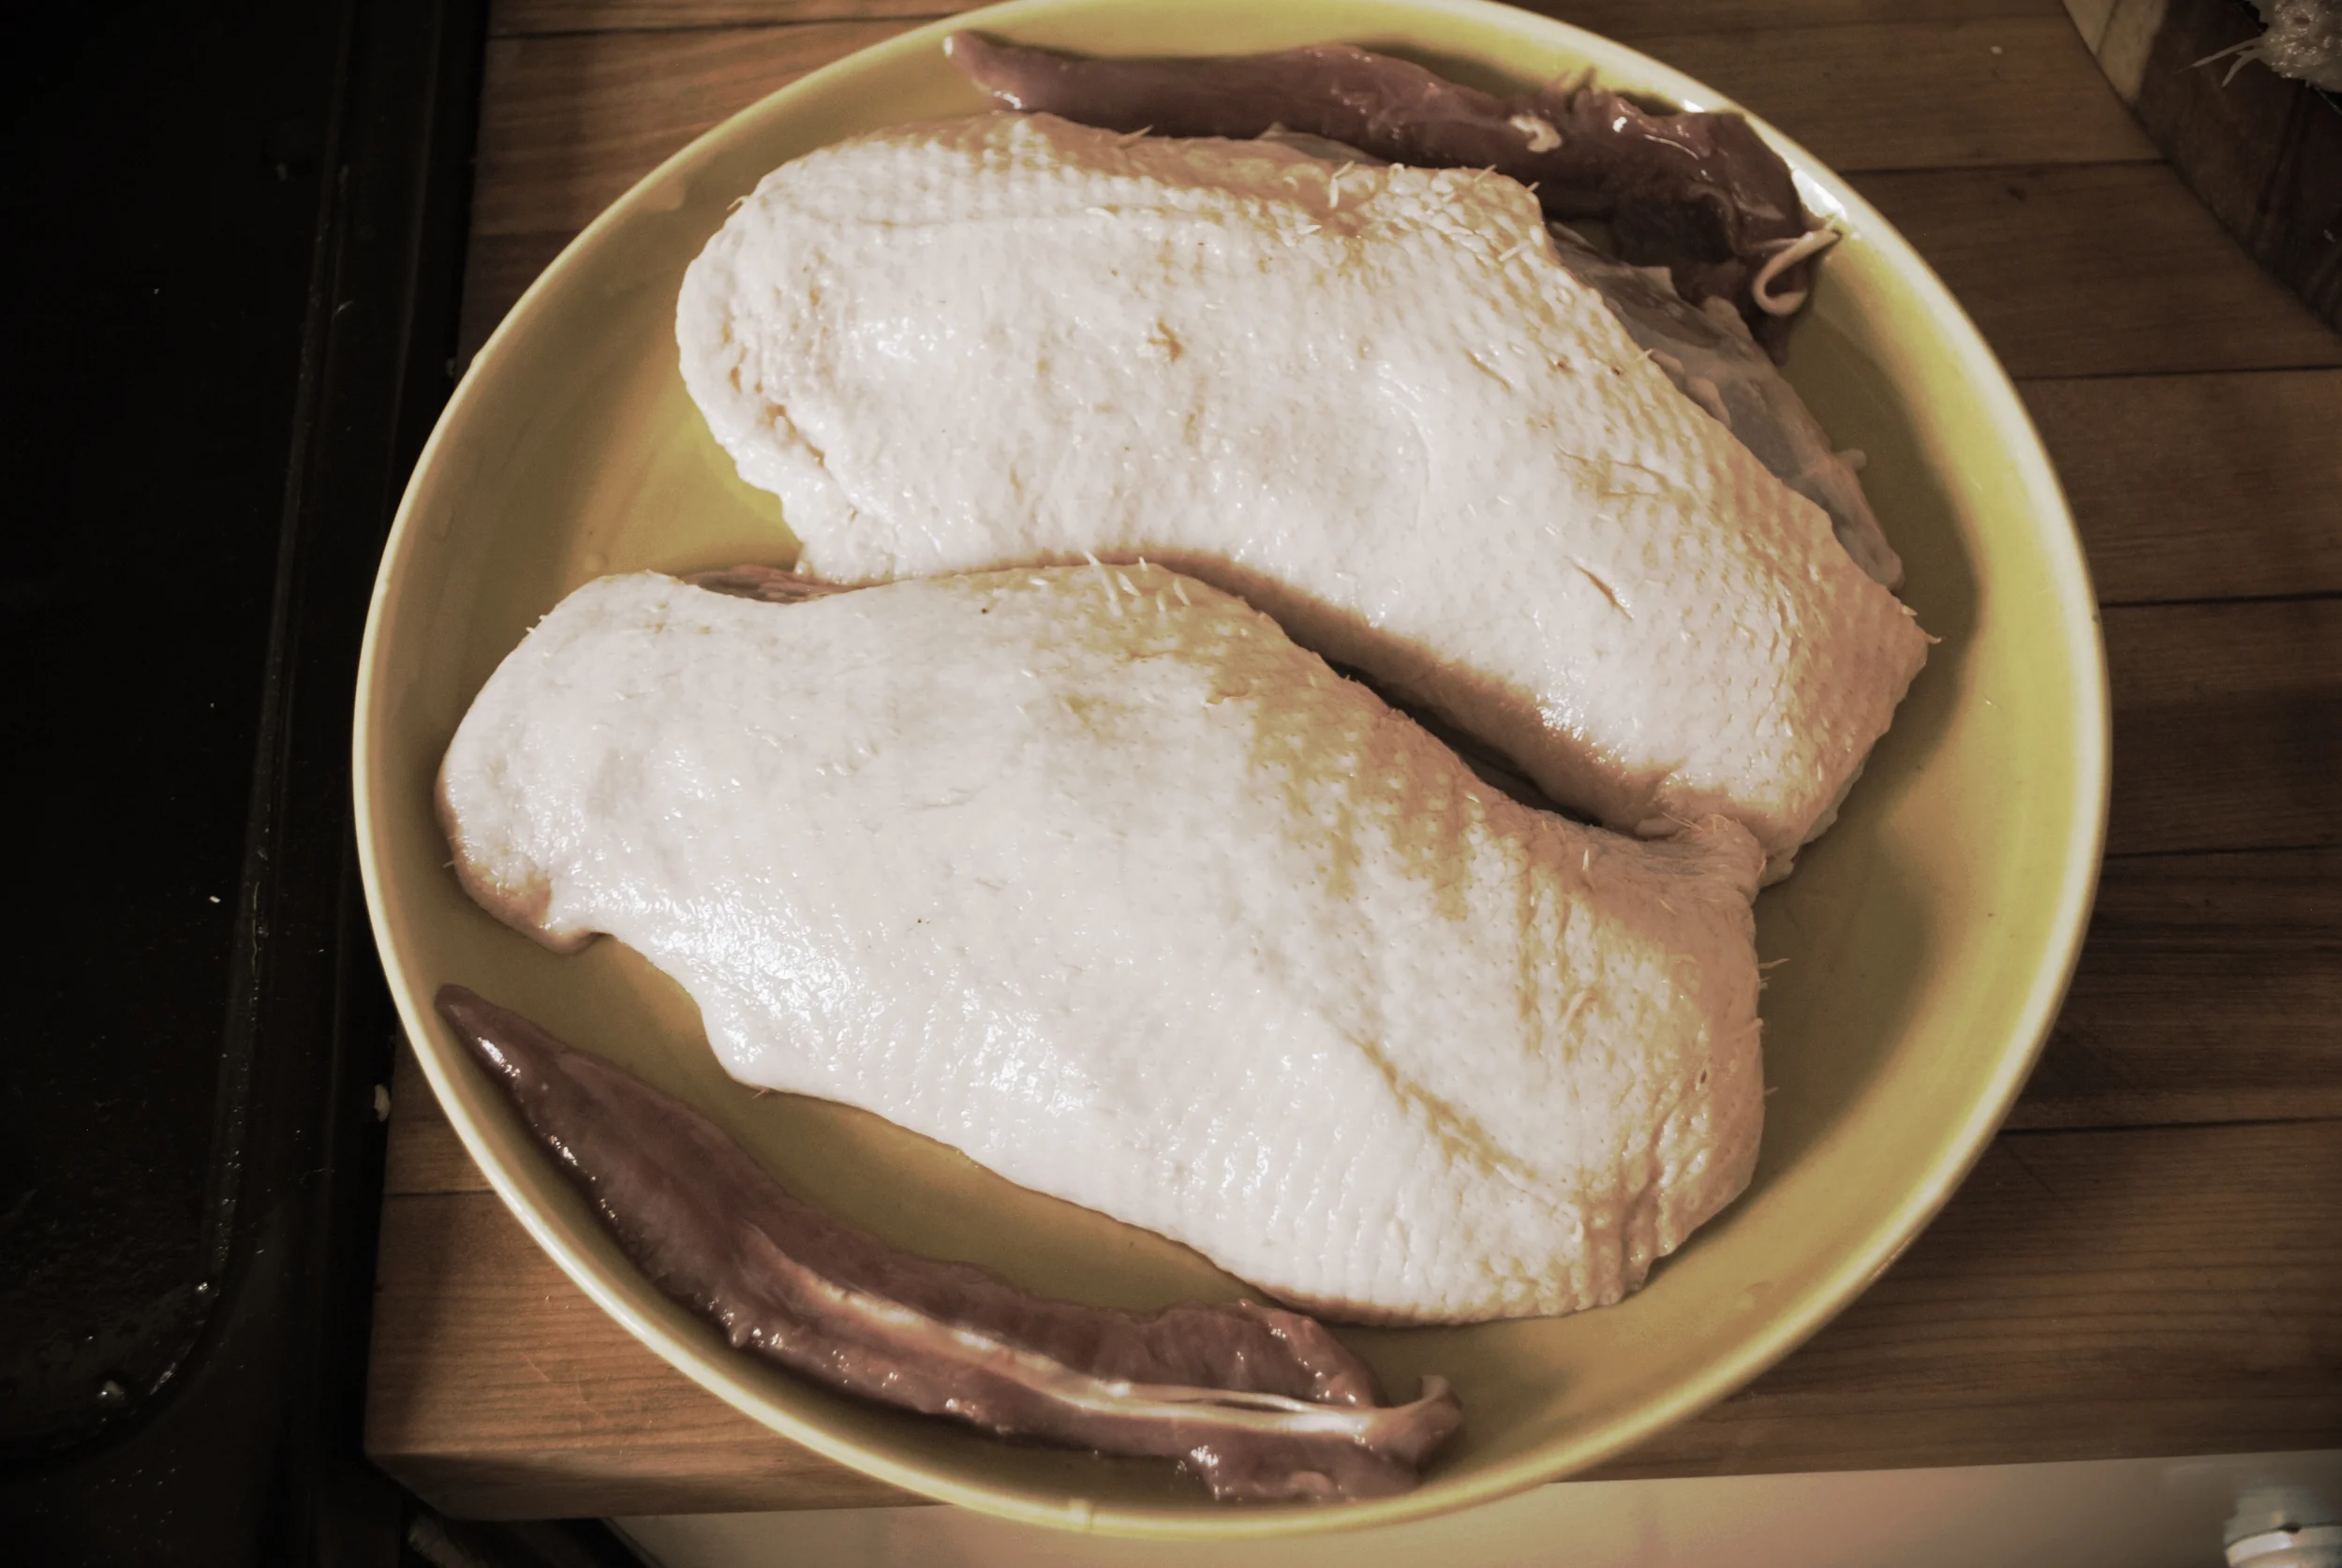
Duck breasts flanked by tenders
Legs and wings with wingtips removed:
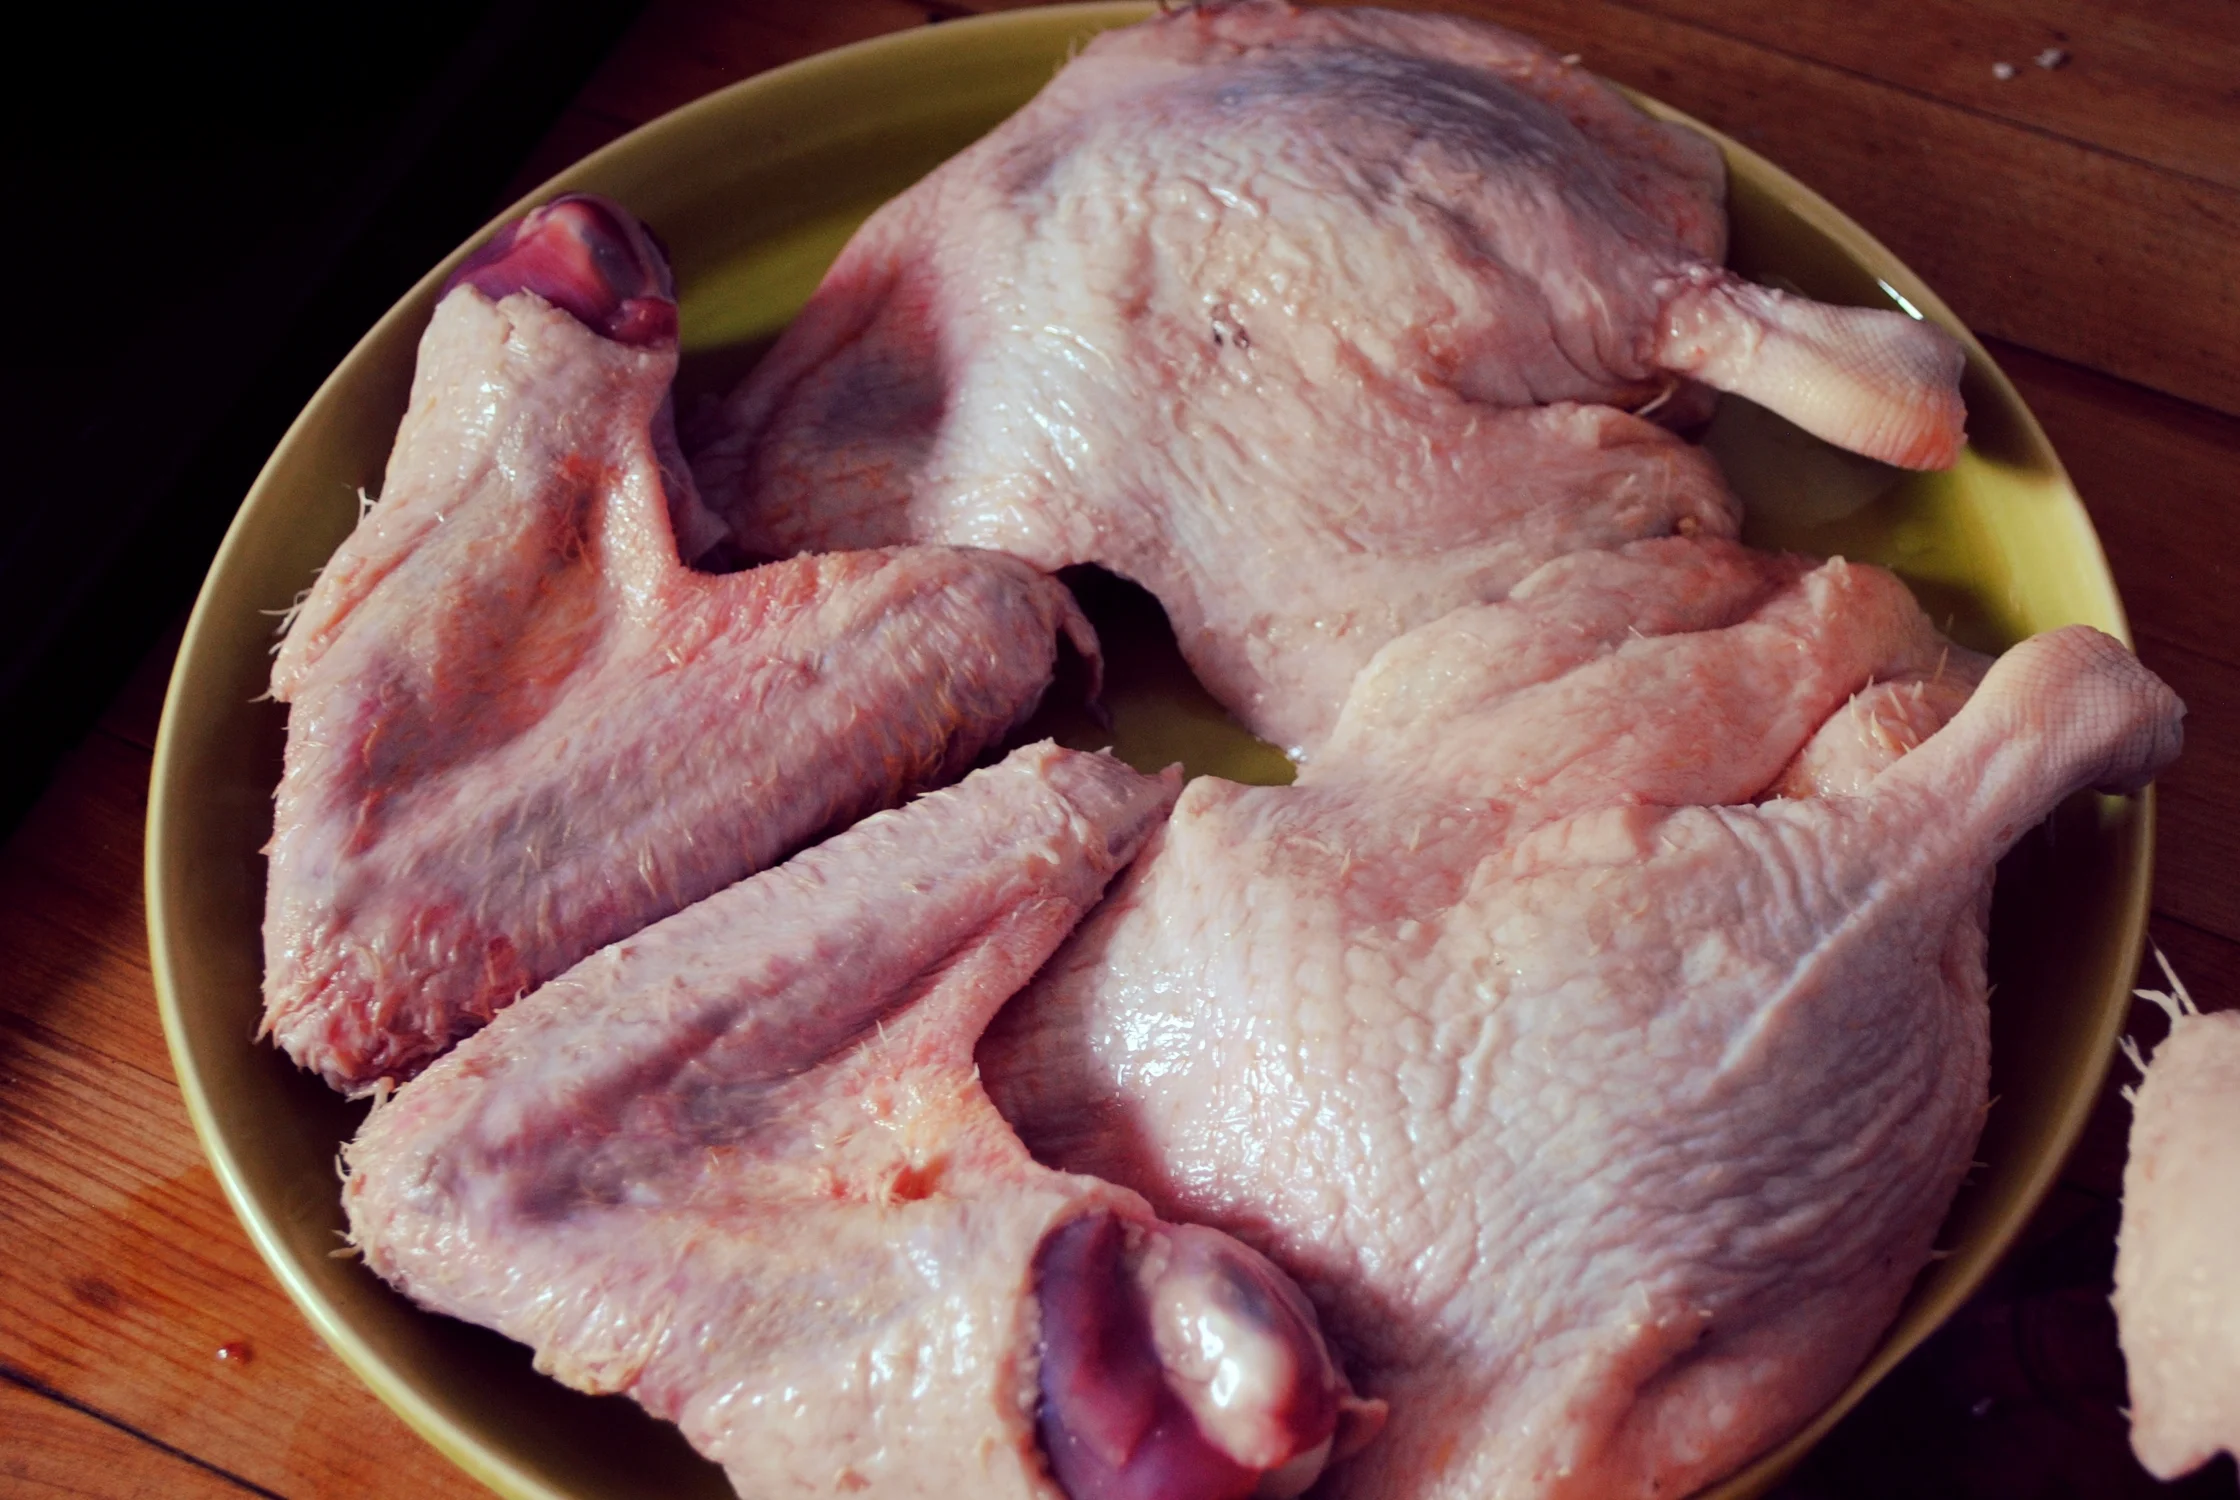
Wings and legs
Carcass, wing tips and skin:

Bones, neck and fatty bits
Duck Breasts
Duck breasts are one of the clearest examples that there is a divine hand at work in the universe. The mix of skin, fat and protein on a bird that is without salmonella allows the careful cook to present a mix of crispy skin, browned meat and a juicy rare center without fear of killing one's guests. The protocol I'm about to describe was pulled from Hank Shaw's great book, _Duck, Duck, Goose_. When it is duck season on the farm (April and October) this is all I can think of eating.
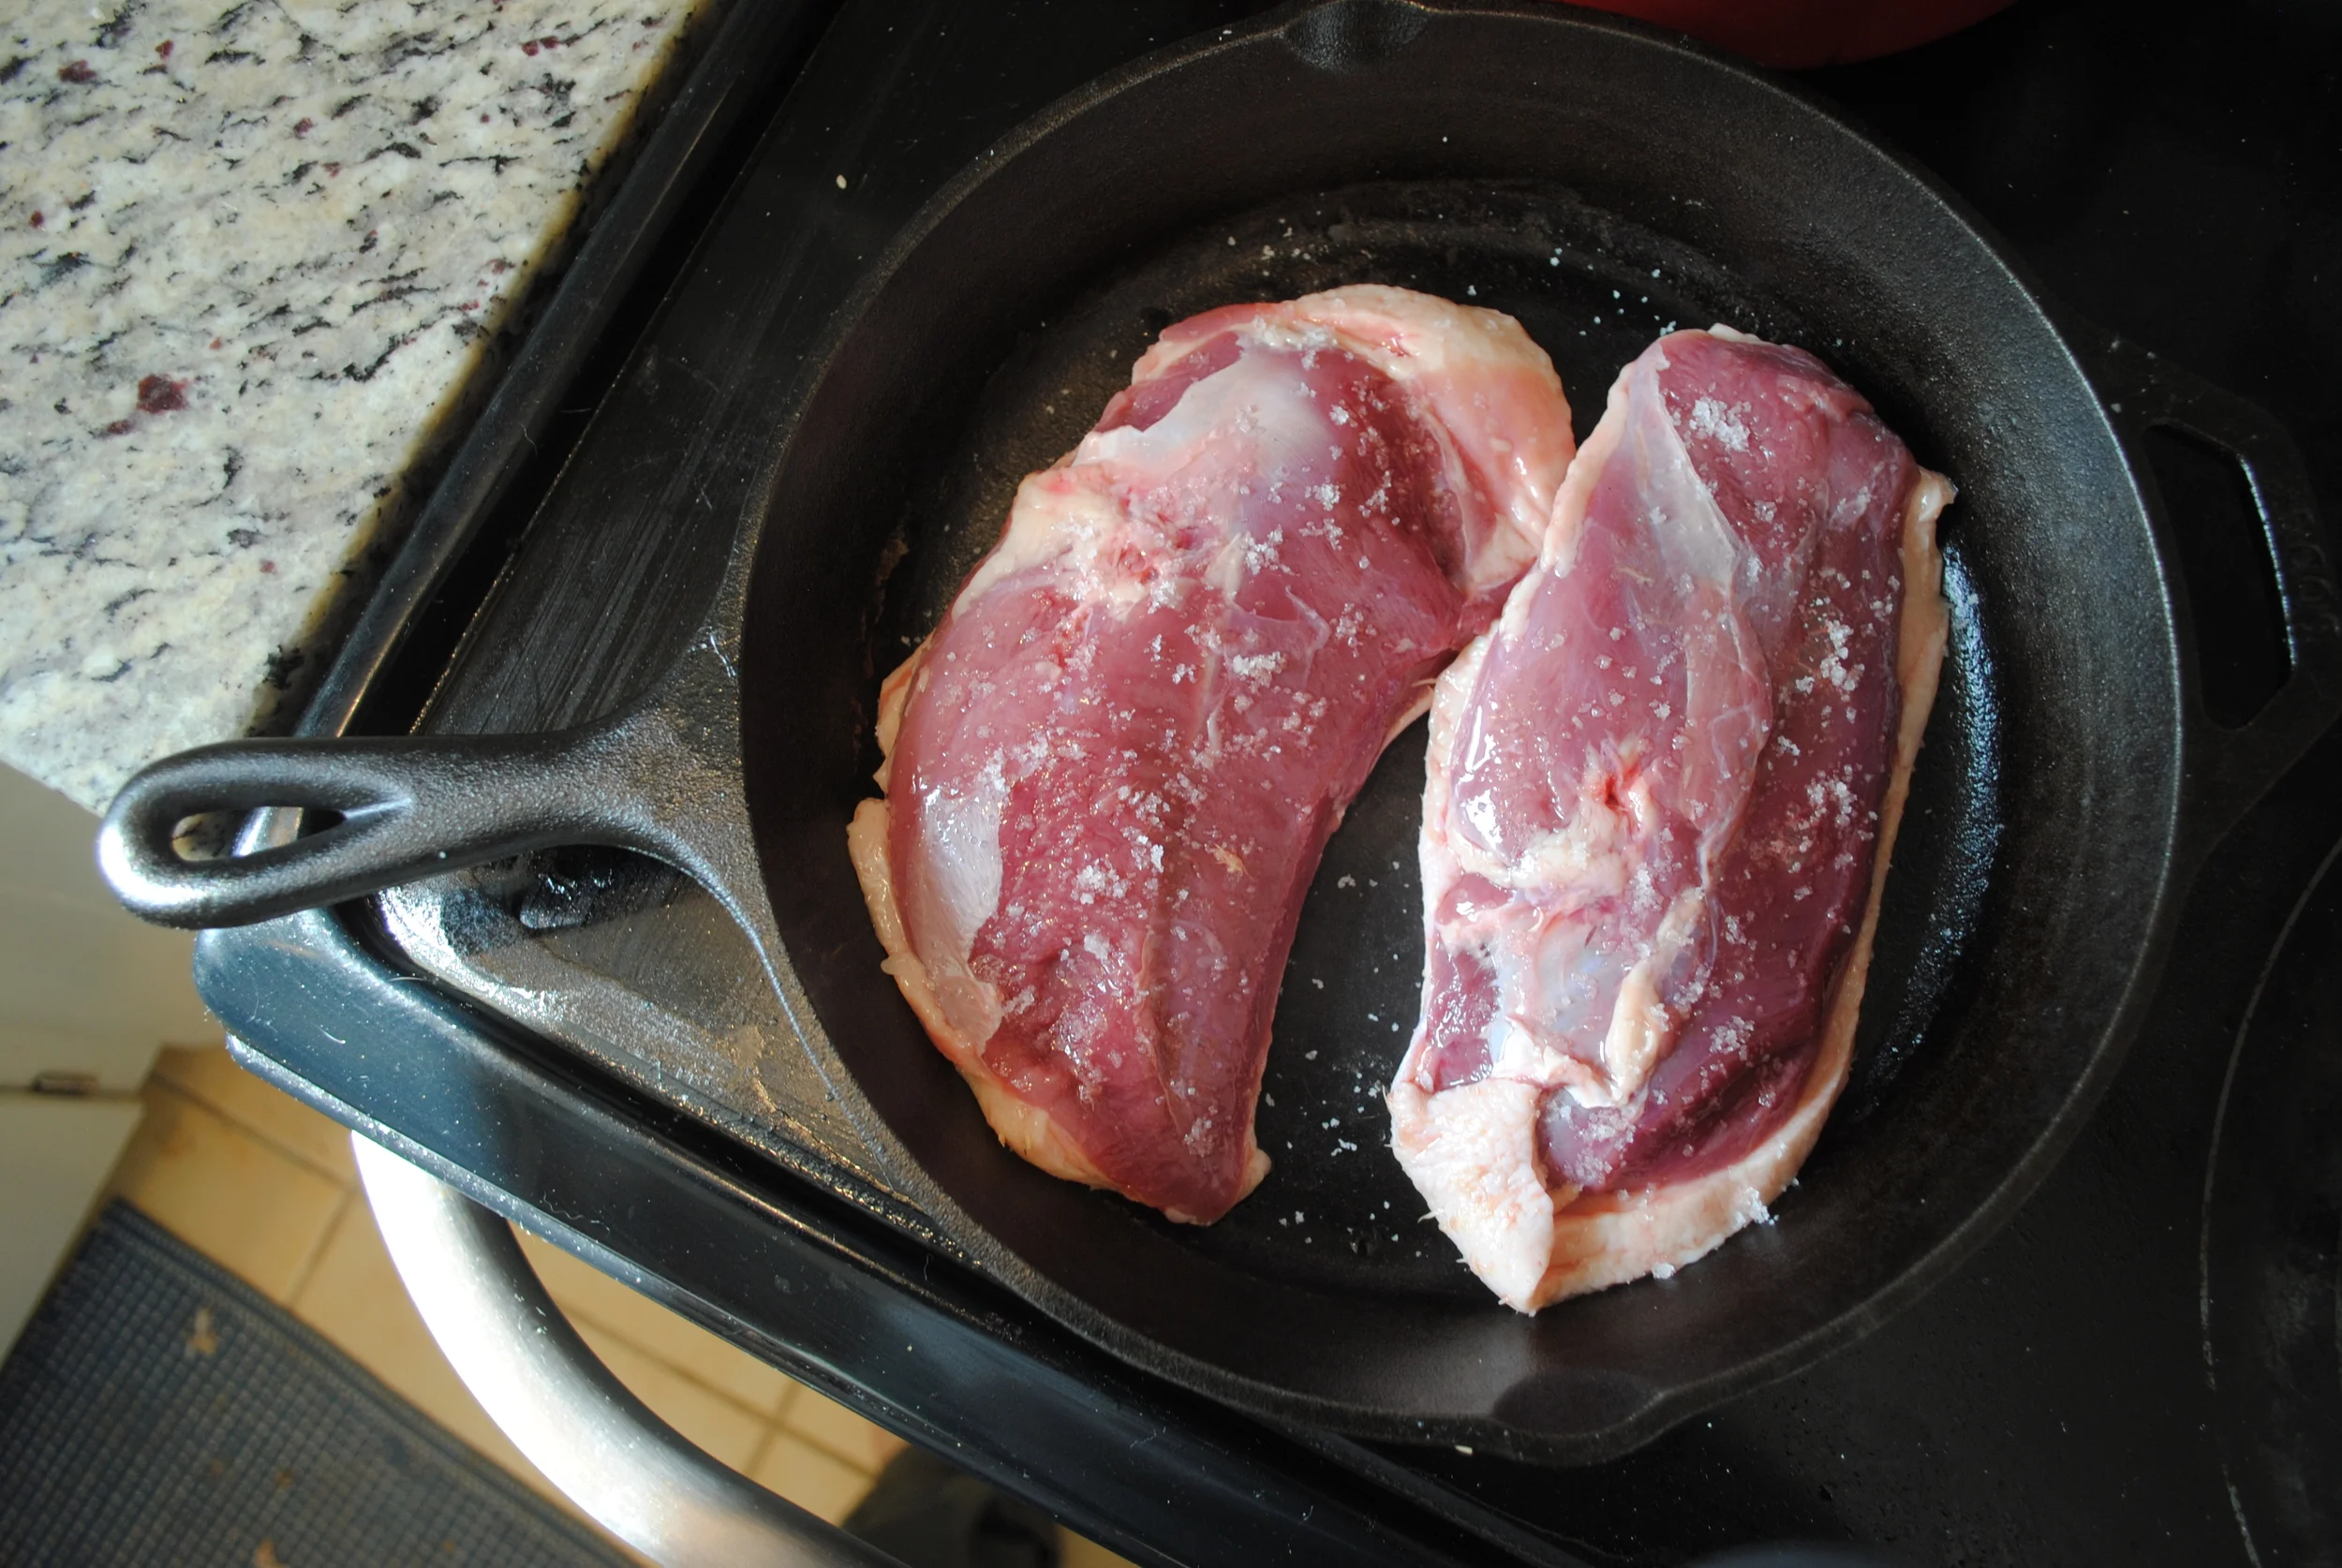
First, pull your breasts out of the fridge an hour or so before you plan on eating. Score the skin lightly with a sharp knife in a crosshatch pattern, making sure not to puncture the meat. This facilitates the release of fat into the pan. Salt the skin liberally and let the breasts sit for an hour at room temperature. This allows the skin to season properly and warms up the inside of the breast.
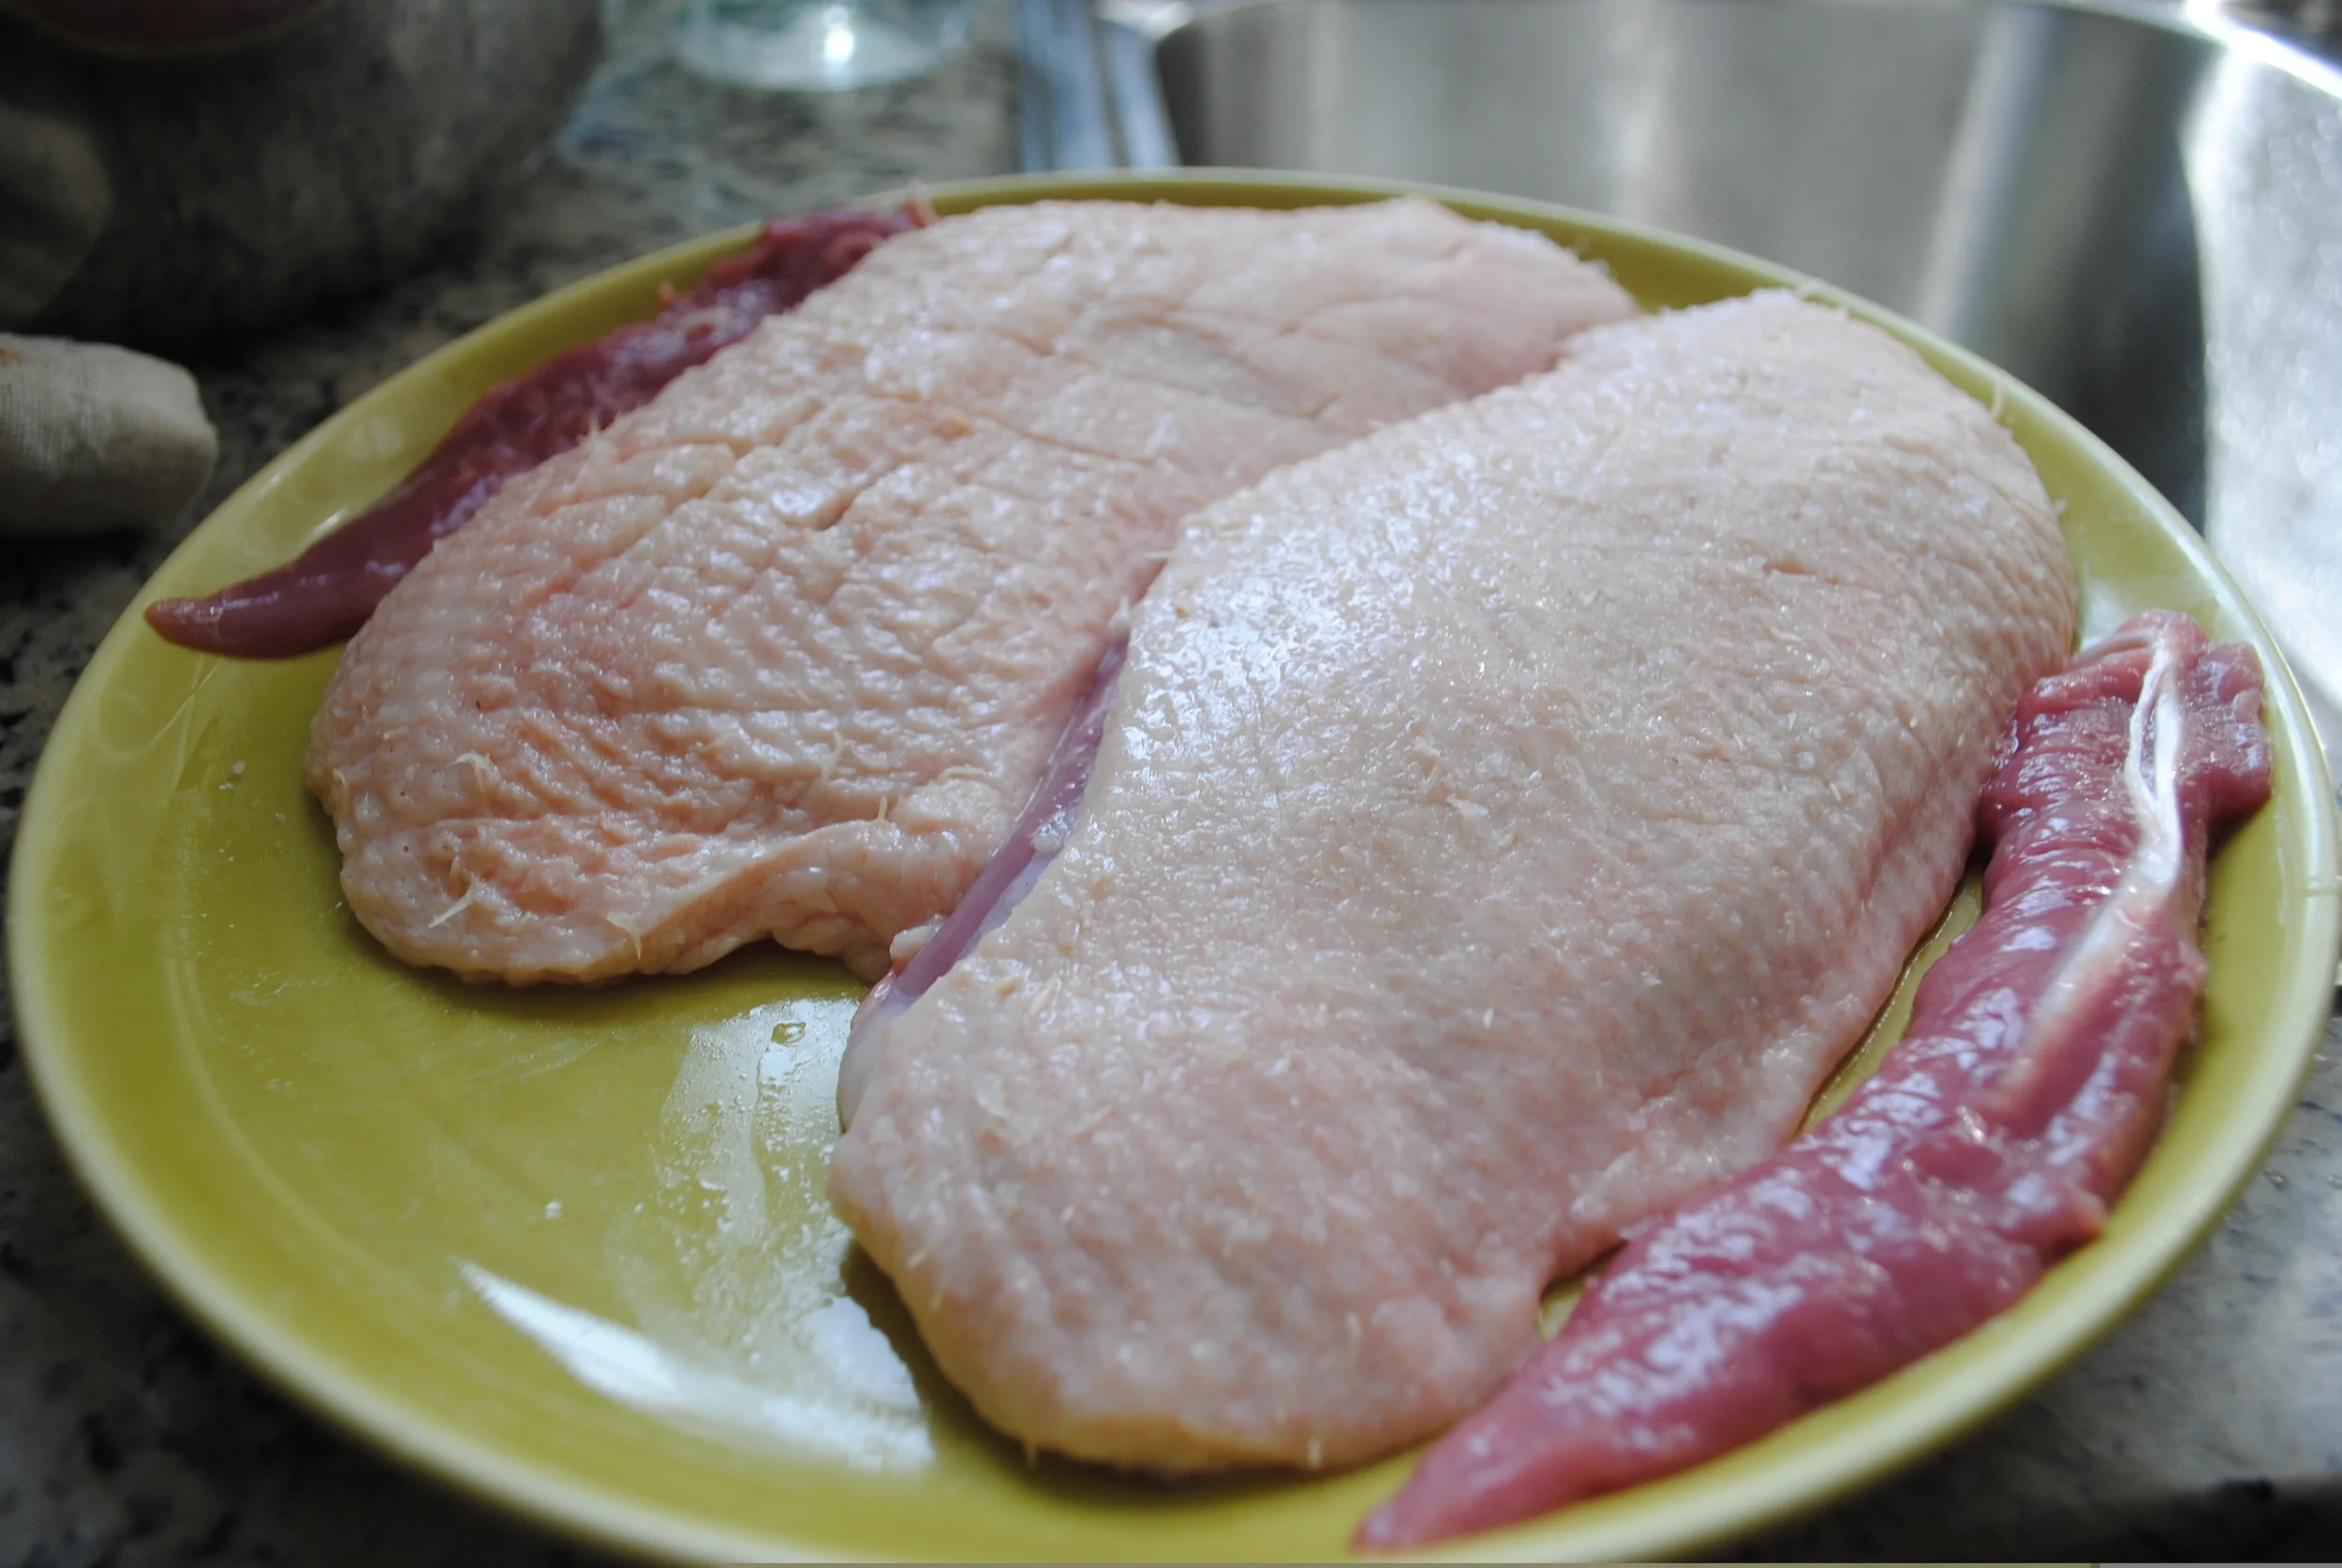
Note the cuts in the skin to help release the breast's fat into the pan
Dab the skin with a paper towel to get it as dry as possible and then place the breasts into a room temperature heavy pan with the skin side down. Turn the burner to medium heat, use a paper towel to dry the meat side and salt the meat side of the breasts. Over the next ten minutes or so the breasts will release their fat, at which point you should turn the heat to medium high so the skin is browned to the point you're looking for.
Even on an electric stove you can make delicious duck breasts
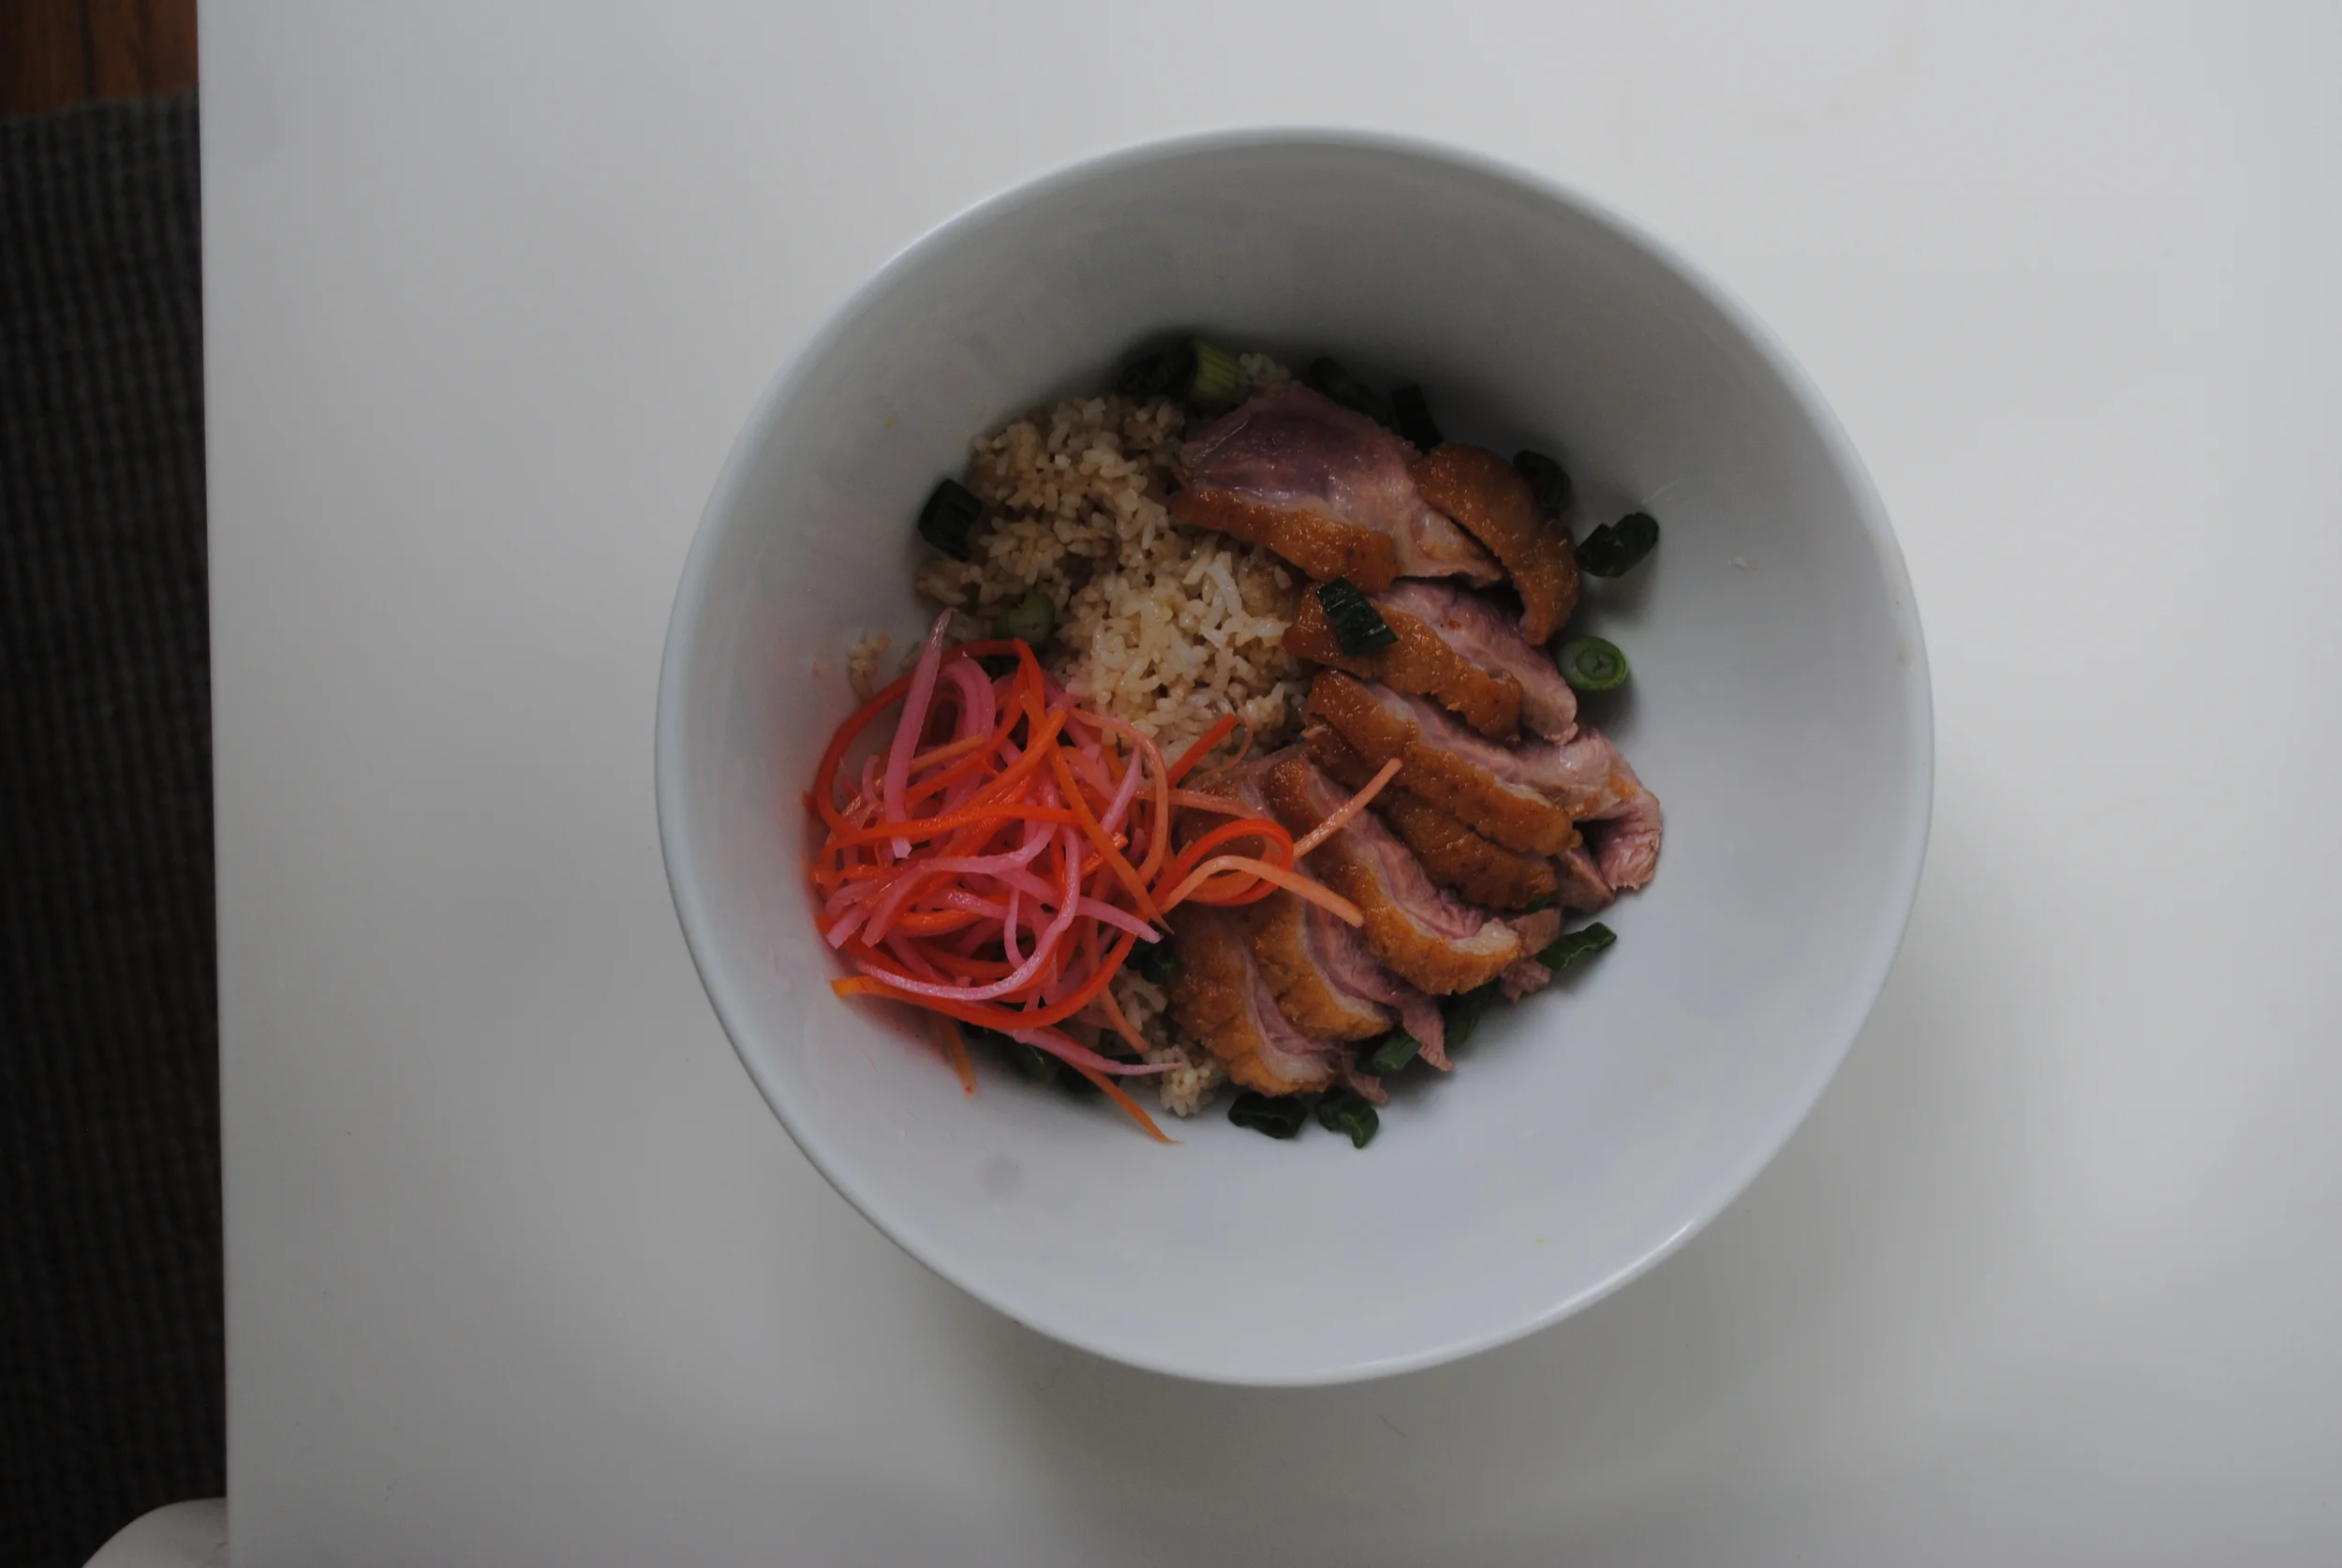
Rare duck breasts, sliced and served with pickled daikon, carrots and rice that was fried in the leftover duck fat.
Duck Legs:
If duck breasts are an indication of a divine hand, duck legs are an indication that good things come to those who wait.
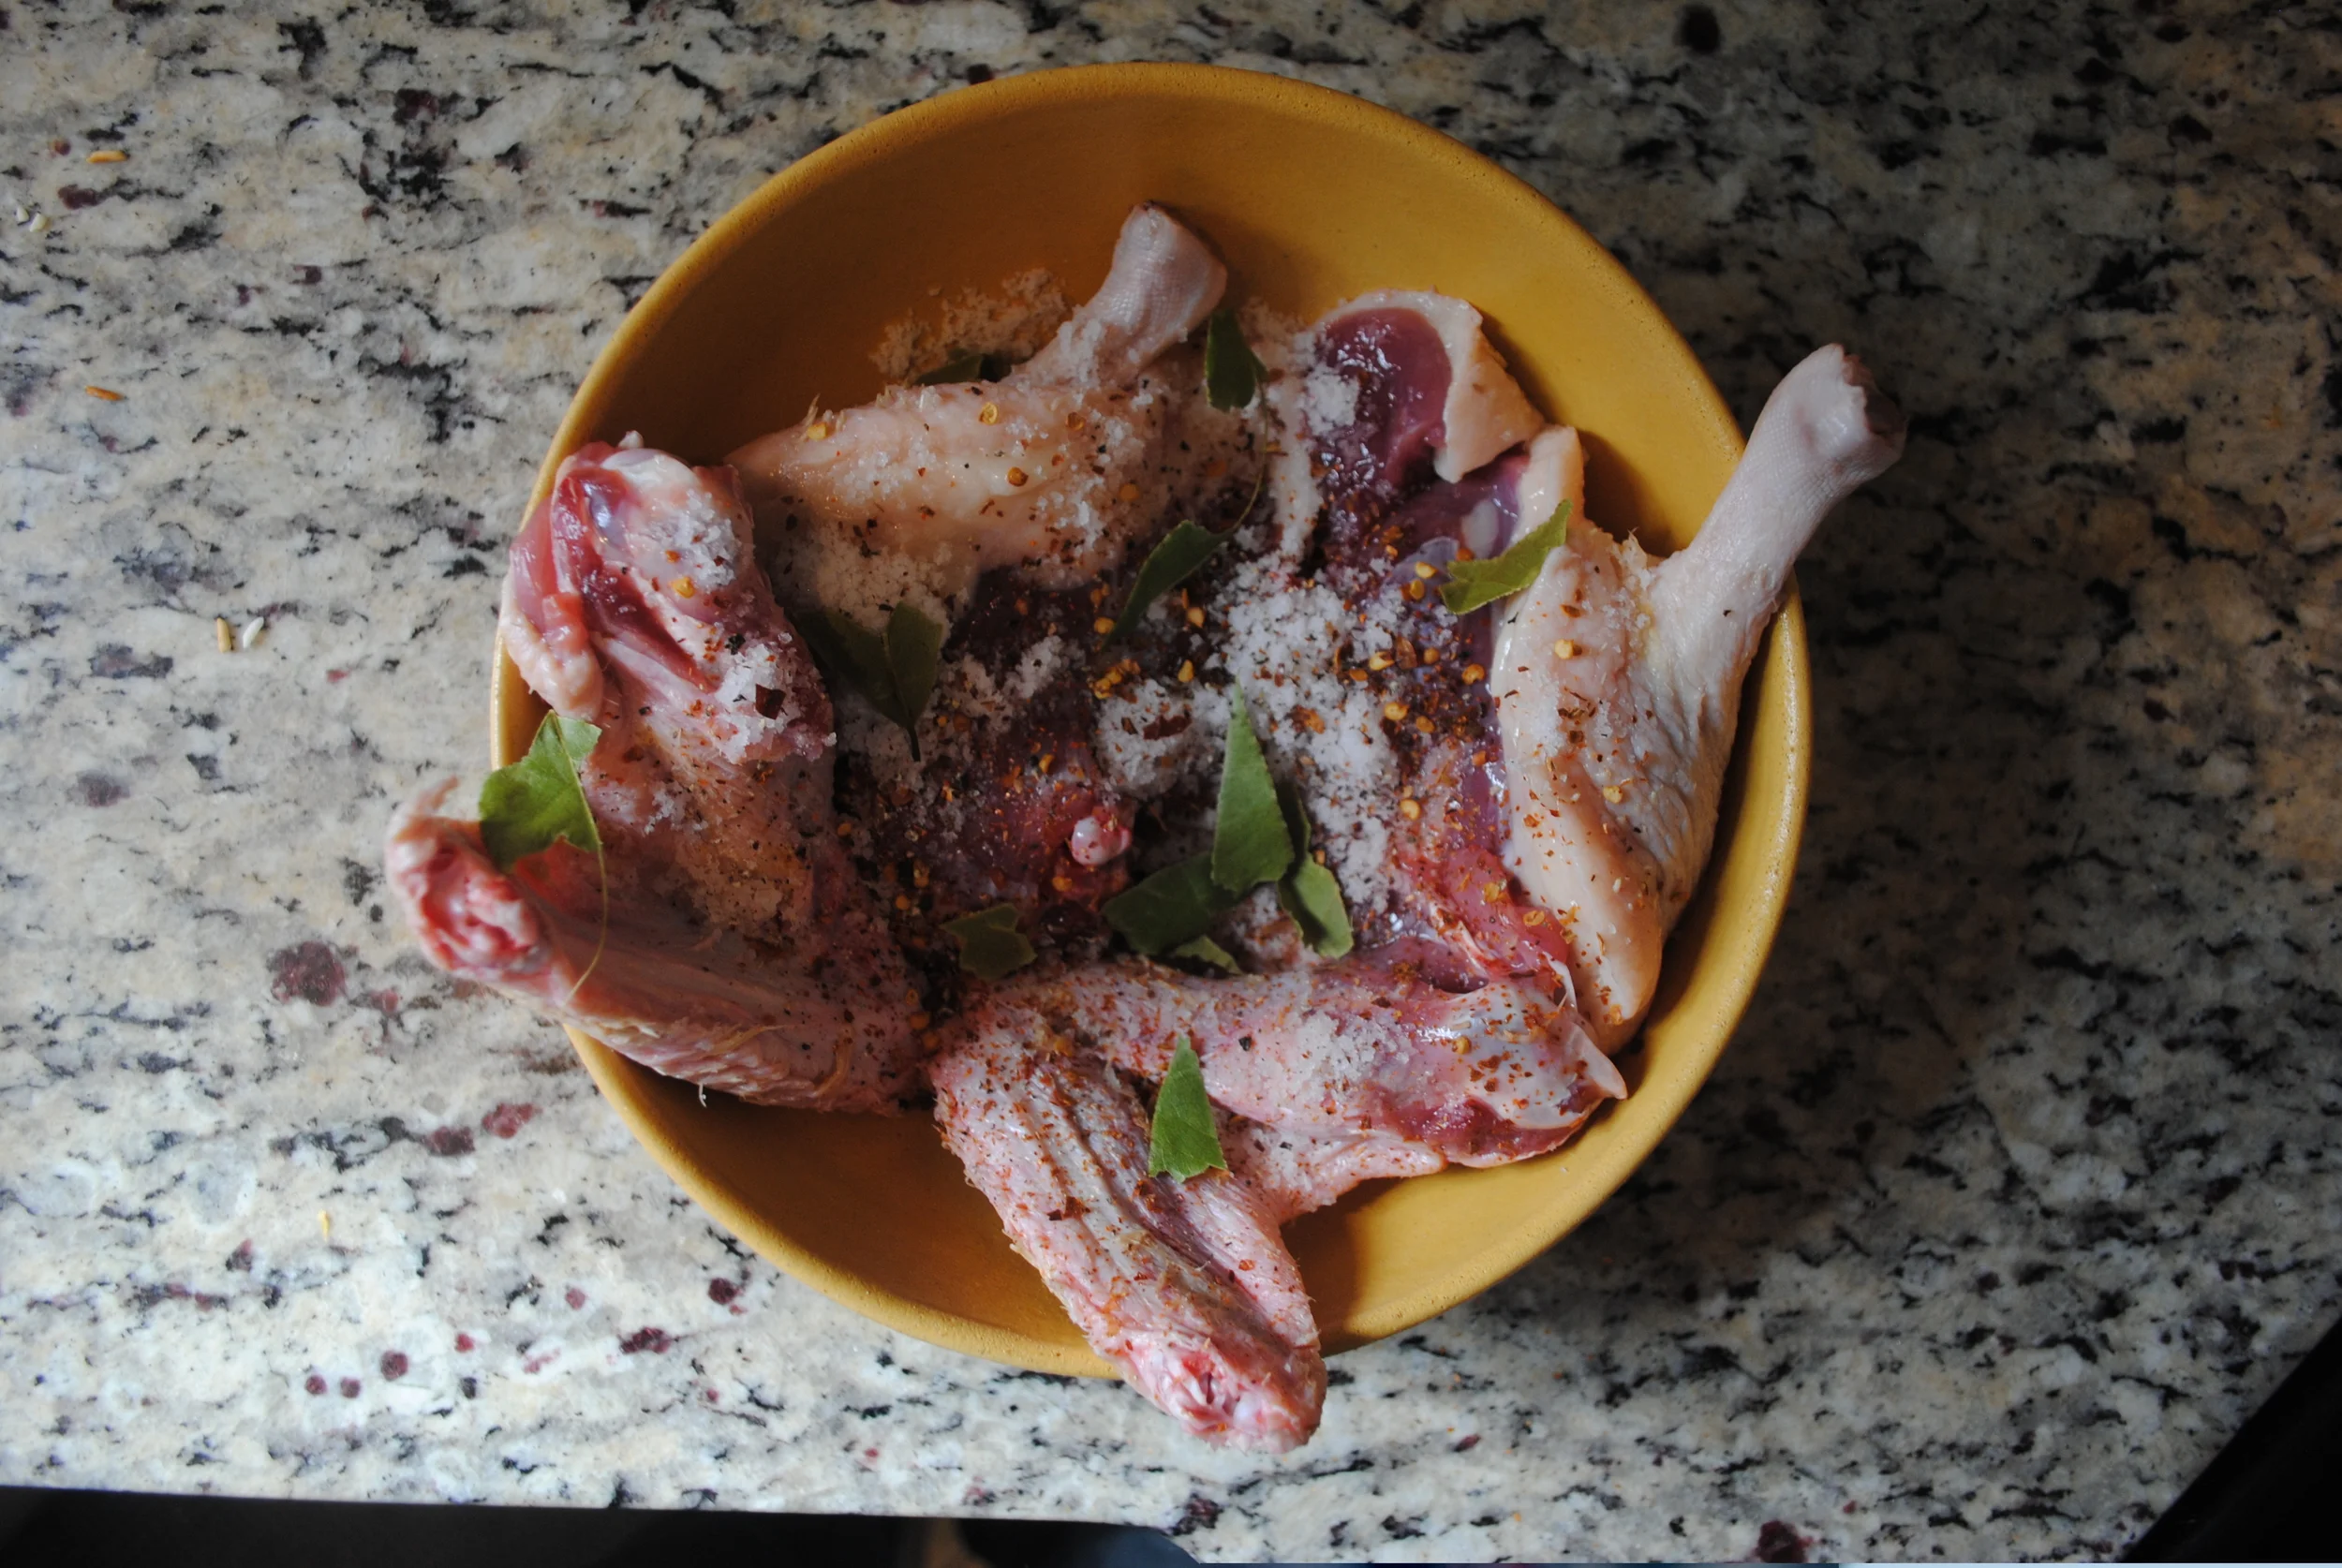
Legs and wings seasoned with fresh bay leaves, crushed red pepper and salt
The night you butcher your duck you can have duck breasts, but the wings and legs should be salted, seasoned and let to rest overnight. I like to vary my seasoning depending upon what's available (think thyme and lemon zest, ginger and garlic or whatever comes to mind). The key is to salt the legs and wings at 2-3 tablespoons of diamond kosher salt per pair of legs and wings. Put them in a non-reactive container or a plastic bag and refrigerate overnight. The next day or 3 days later pull the duck parts out, rinse the seasonings off of them, pat dry and seal them into a ziploc bag with 2 tablespoons fat (olive oil or the duck fat you skimmed off your carcass, see below). Use the bowl technique for removing air:


In the picture on the left you can see that I am pushing the bagged legs underwater. What is difficult to see is that I've left 1 inch of the seal undone, this allows air to escape so when the legs are submerged you can finish sealing the bag and end up with the middle picture, duck legs with fat and very little air. The pot on the right has been brought up to a simmer and was left to cook for 5 hours (I added some wings in a different bag that wasn't in this picture. At the end you can put the whole thing in ice water to cool down and then refrigerate it for up to a week before using.
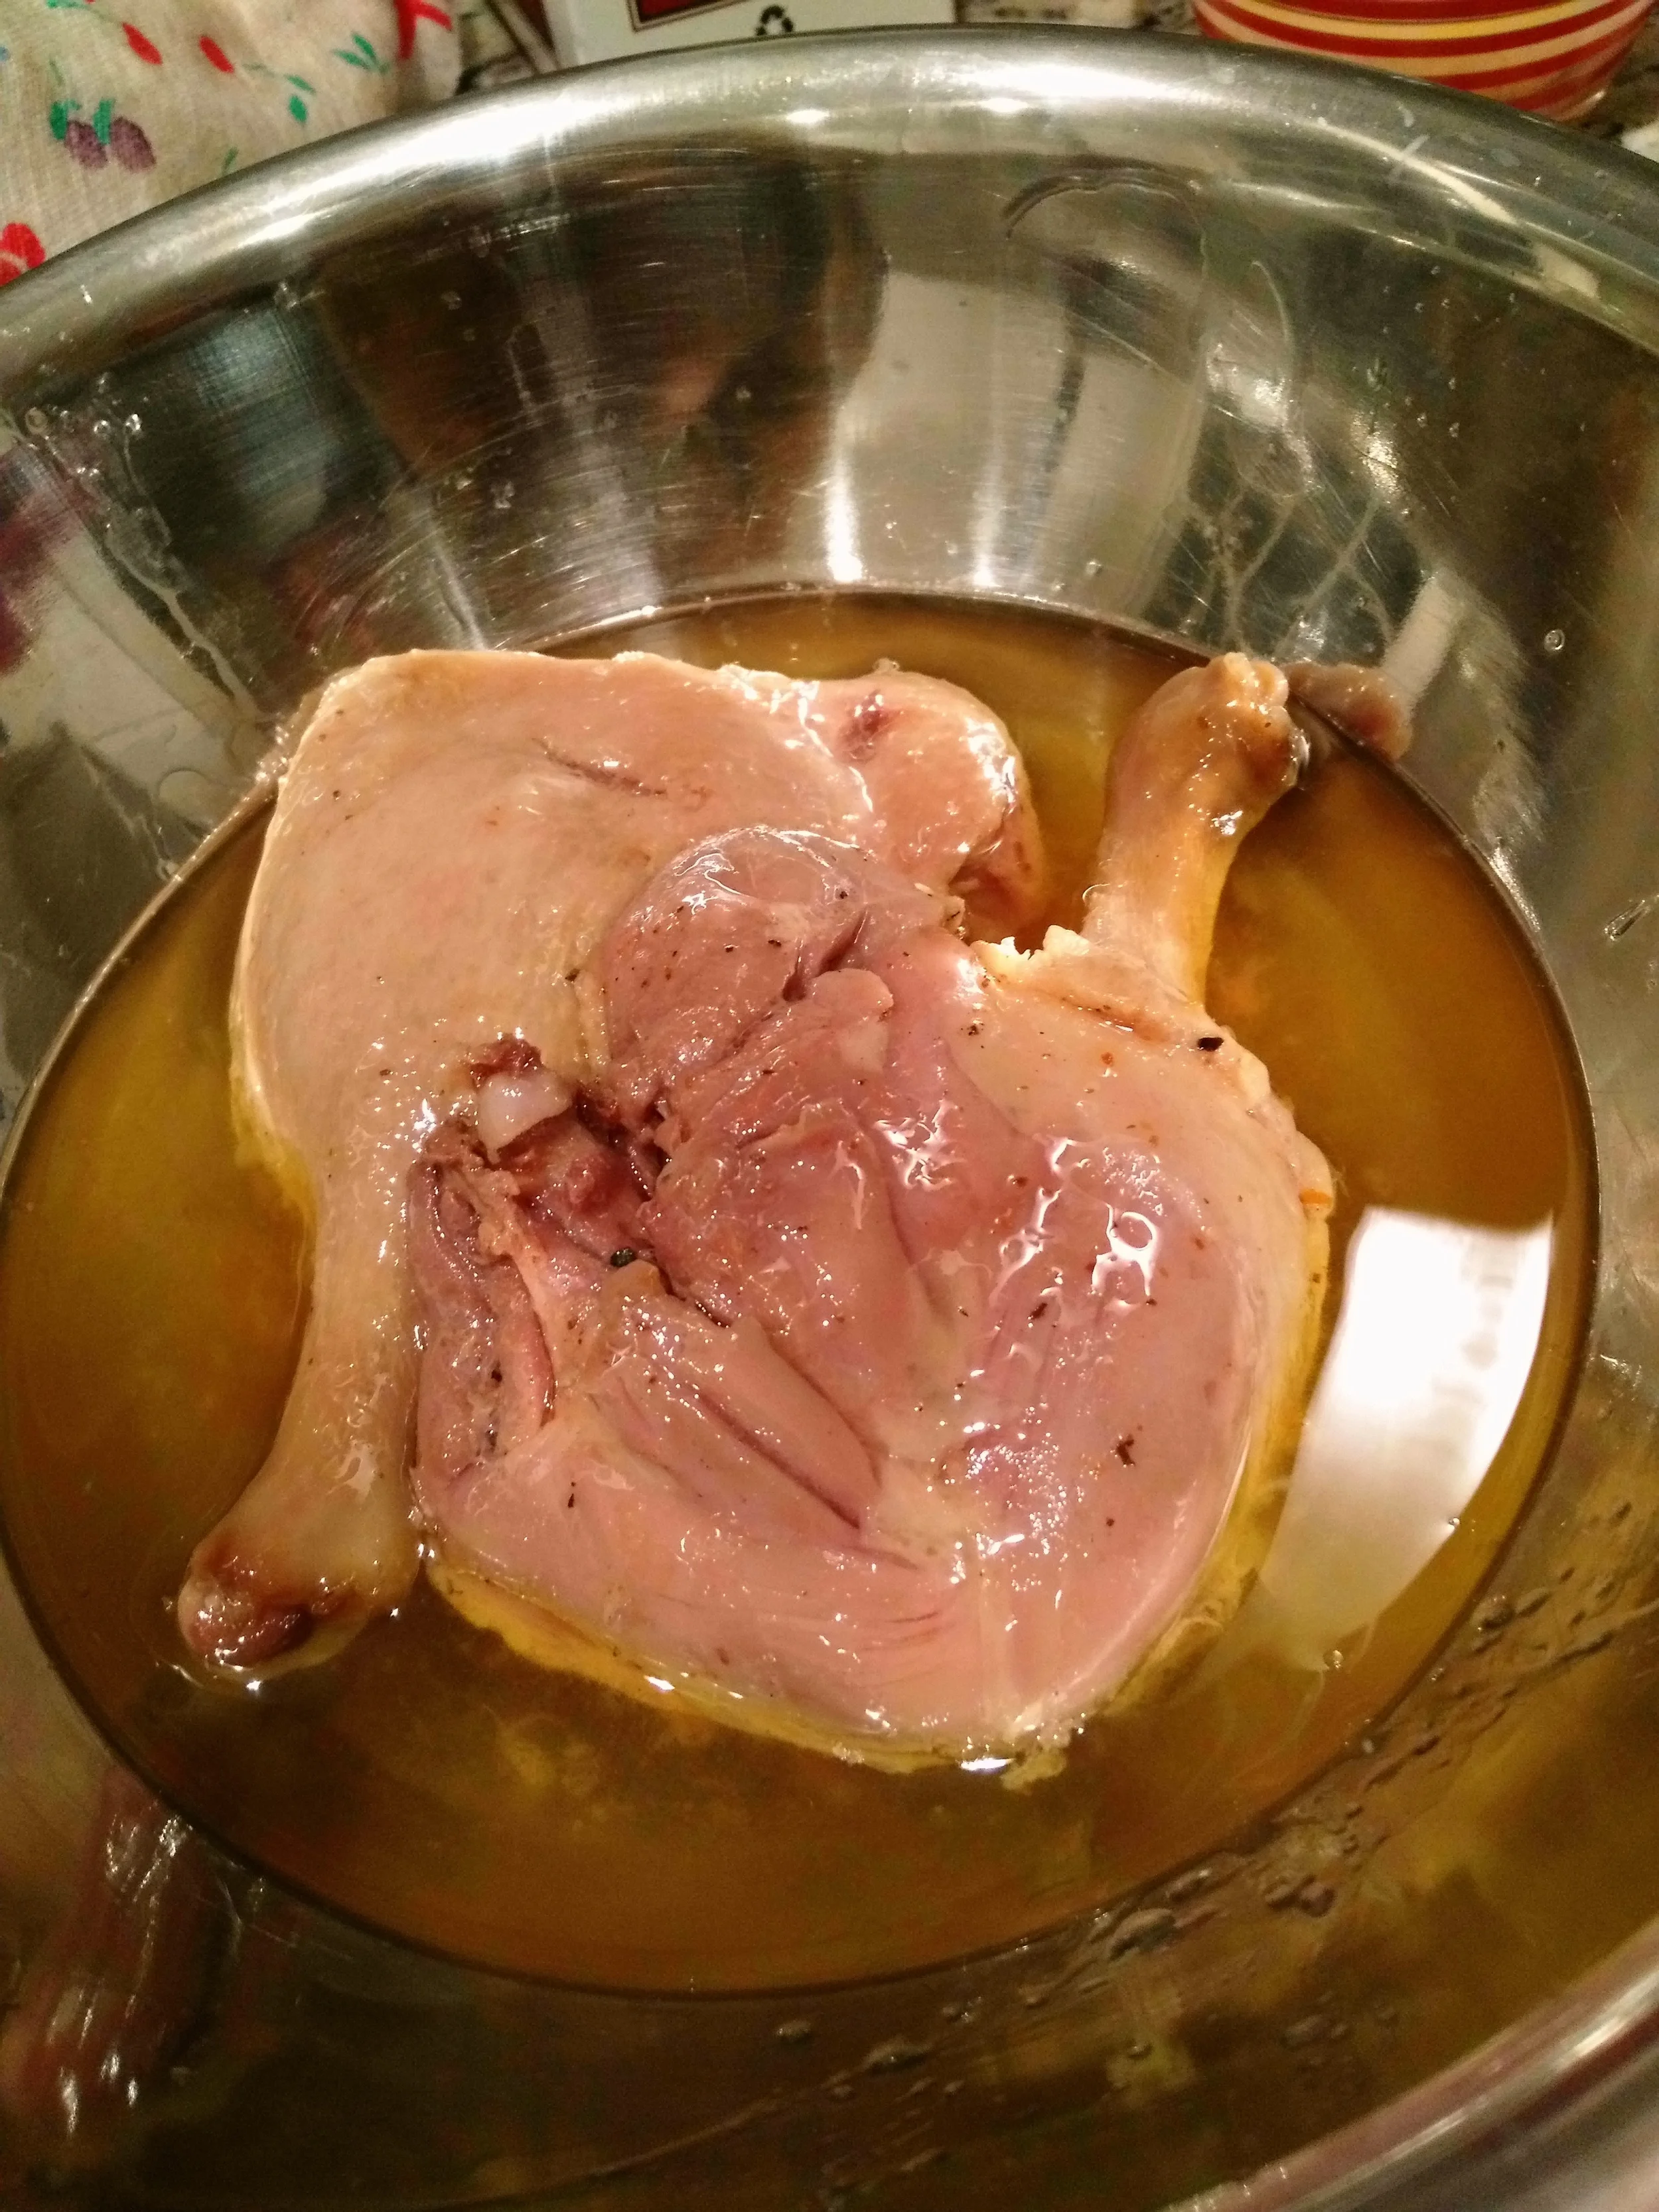
Finished duck legs in their delicious juices and fat
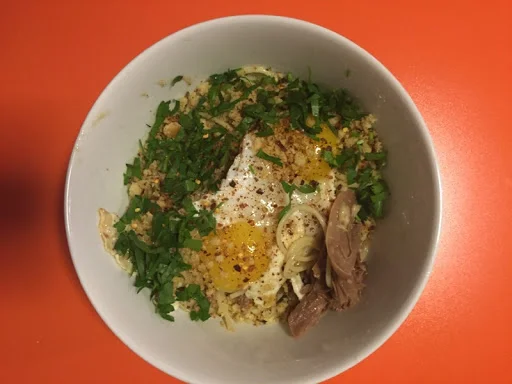
Salerno-style spaghetti with duck confit
Of course, if you're like me you'll decant the whole thing immediately and make anything more delicious by adding some shredded duck confit to it. I use it on salads and slaws, in hash for breakfast and, well, it ends up in just about every meal until it is gone. In the picture on the right I adapted recipe for Salerno-style pasta with fried eggs and breadcrumbs by cooking the eggs in the fat and duck drippings before shredding the duck into the bowl with breadcrumbs, parsley and crushed red pepper. Jackee likened it to pasta carbonara. Umame and umame and umame!
Finally, the carcass, wingtips and skin:
Duck broth is a very rich, fortifying liquid. I prefer not to include vegetables or herbs when I'm making it so that it is more versatile. It is well worth it to brown the bones before making stock in order to deepen the flavor profile. If I am in a rush I broil, if not I roast at 450 degrees for 45 minutes. Your bones should look like this:
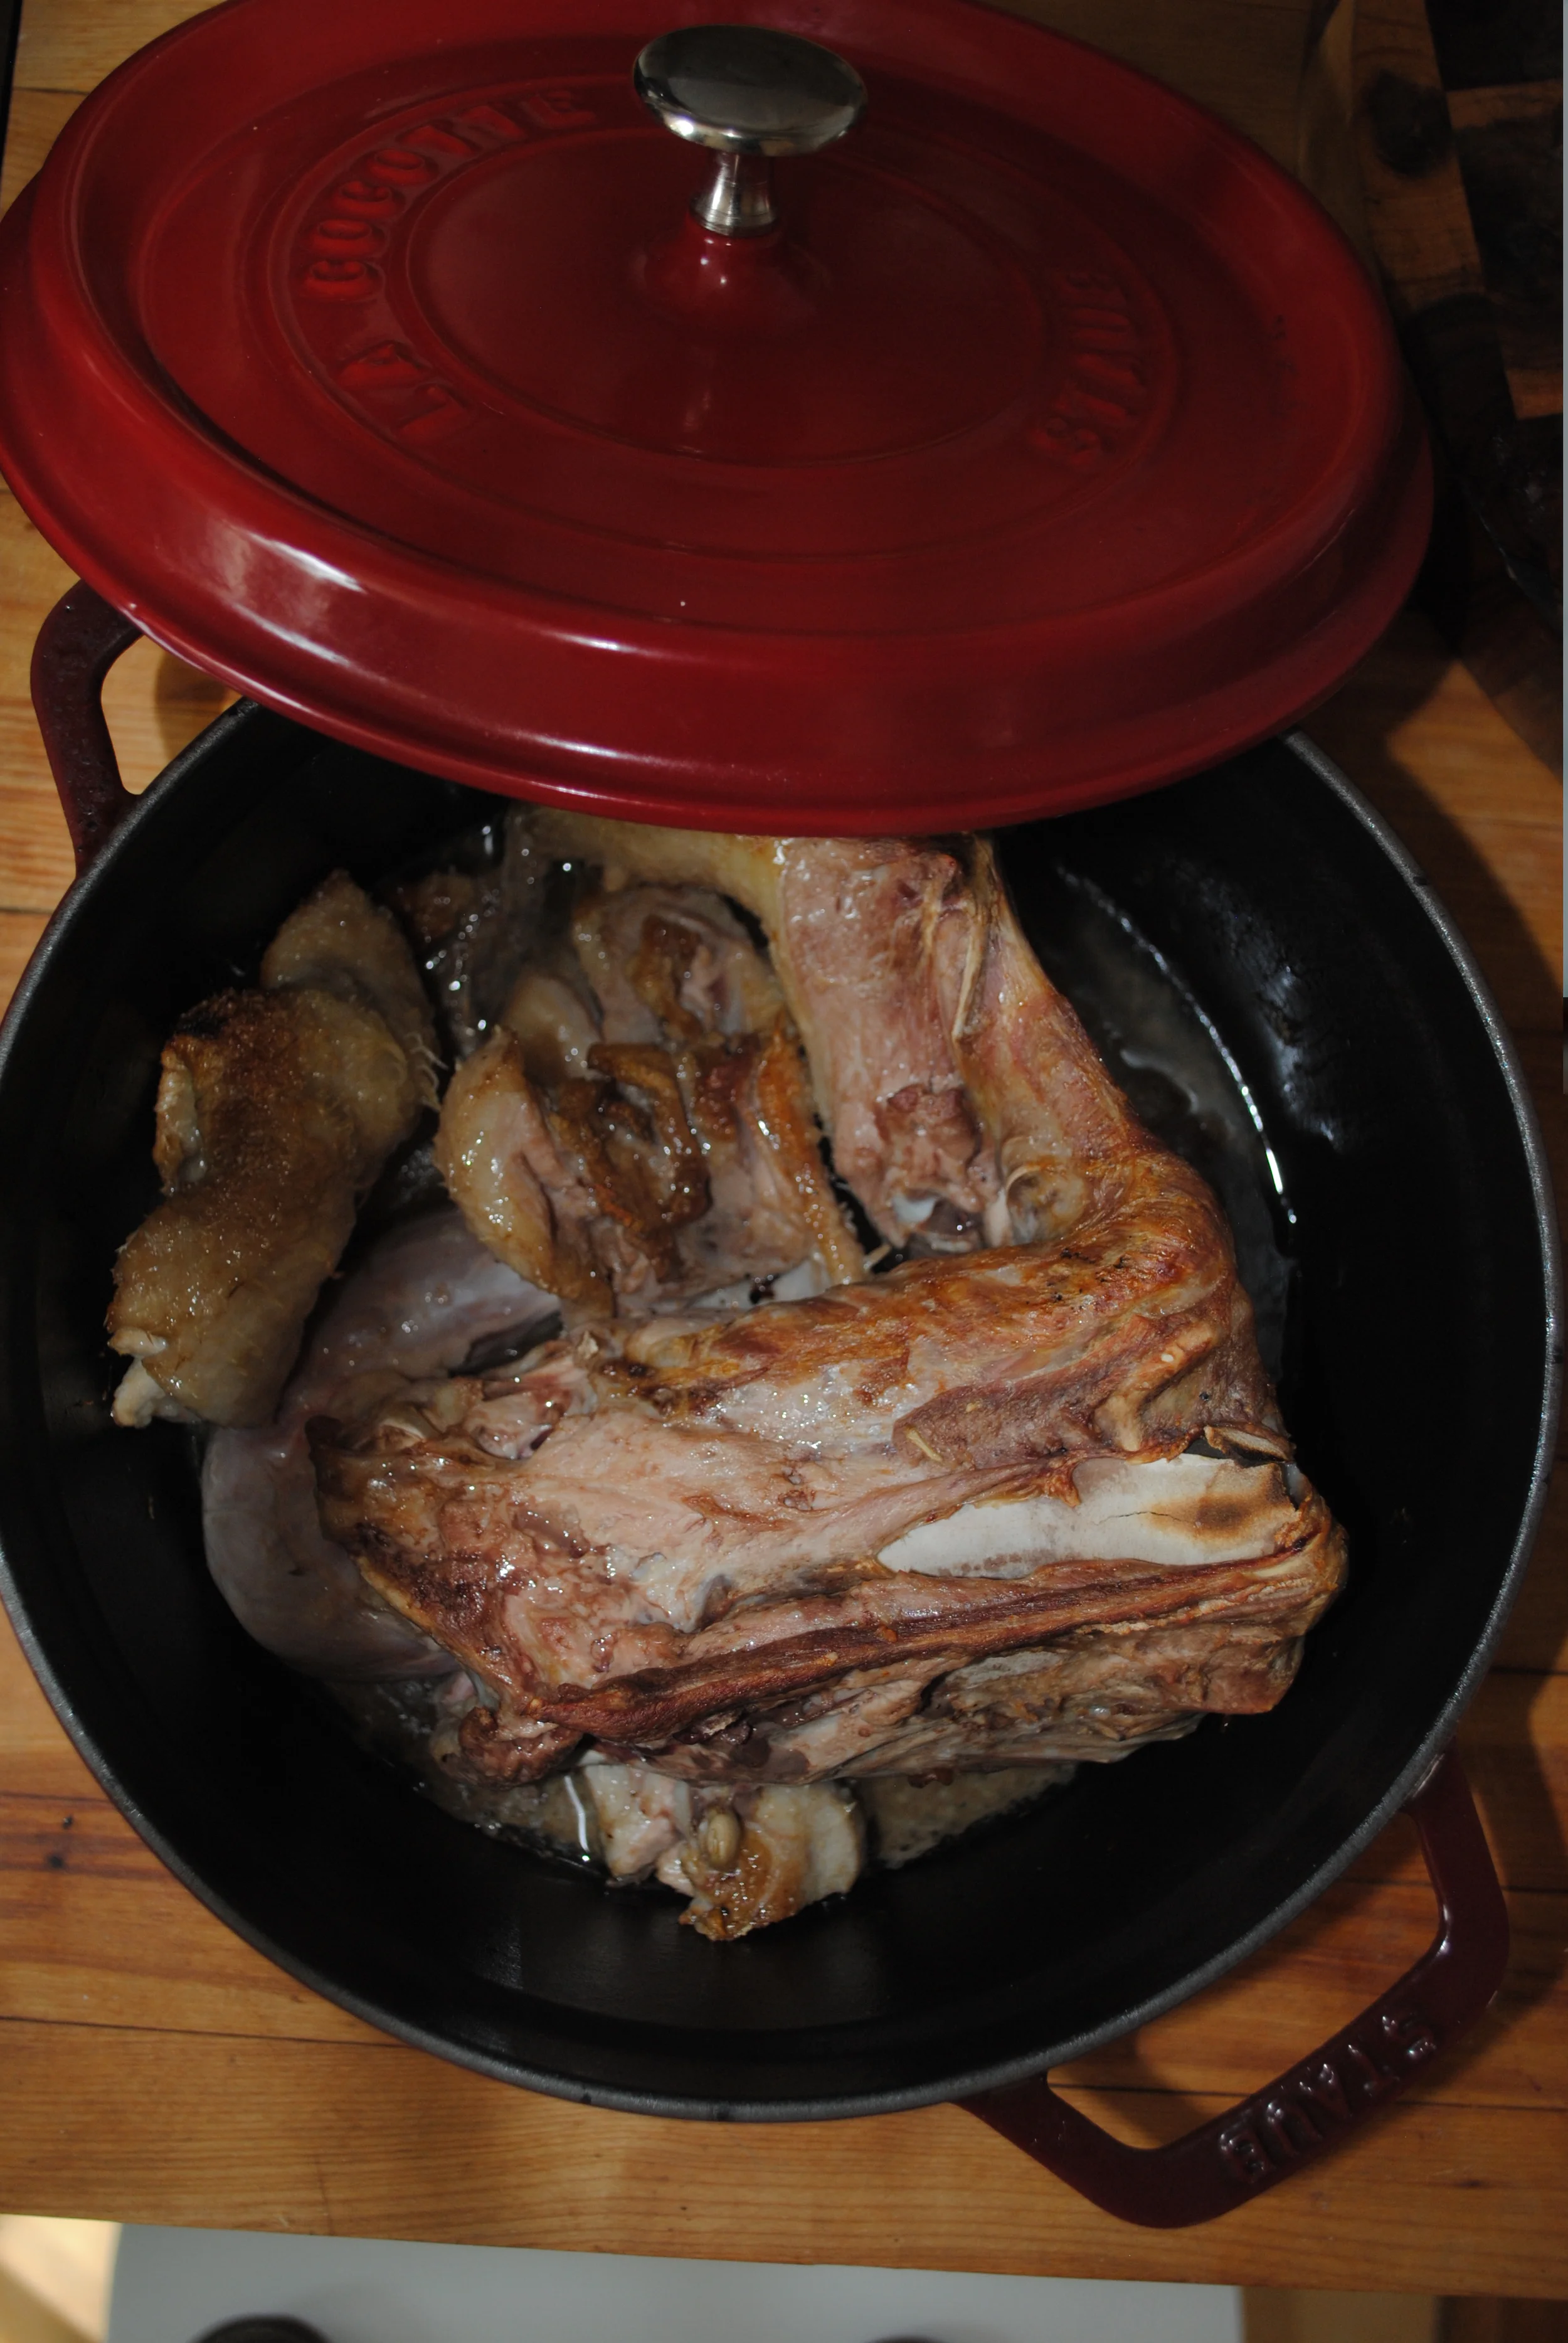
Malliard reaction in effect
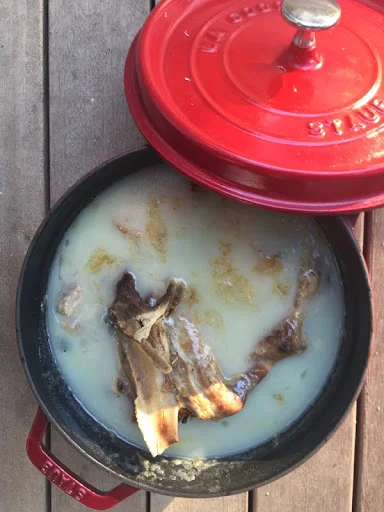
Cooled duck stock with fat cap
Cover the bones just barely and simmer for 6-10 hours. If you're feeling under the weather or are anticipating a hang over you can add a nub of ginger to the pot. When fully cooked you can strain it immediately or cool overnight (although you'll most likely have to reheat the stock a bit to loosen the gelatin). Here is our pot with a lovely coating of fat on top:
If you'll be using the stock for making soup or some other dish which doesn't require copious amounts of fat, scrape the fat off the top and store in the fridge until you want to use it (such as to make duck confit).
If you're hung over or sick the following recipe will fortify you:
warmed duck stock, with fat intact, preferably cooked with ginger
tamari or soy sauce
spicy vinegar (or a vinegary hot sauce)
Mix in a mug, sit on your couch and prepare to perk up in 15
I'll be doing another post with links to many duck recipes that weren't listed here. Check back soon!